LTD 1/48 IAR-80C
#1
Postat 26 May 2005 - 02:43 AM
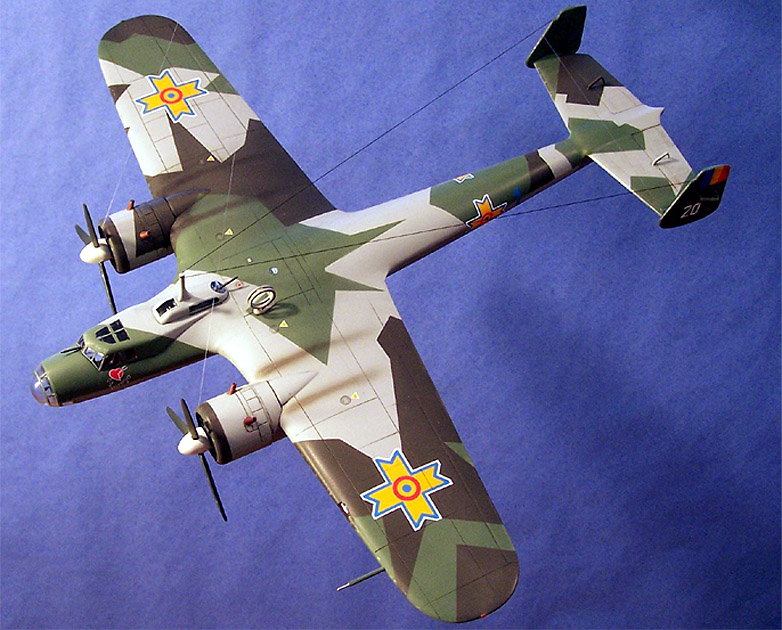
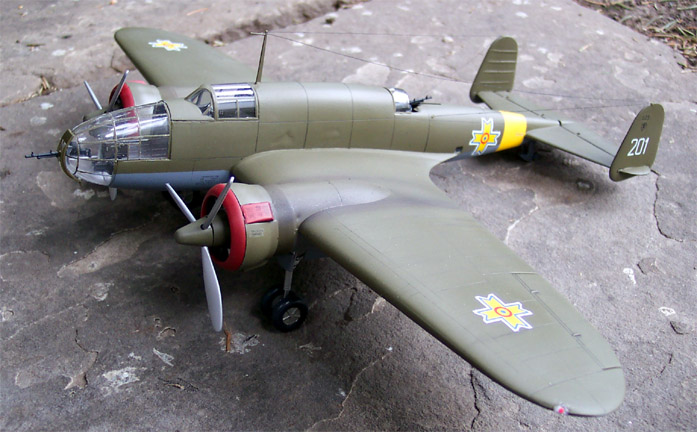
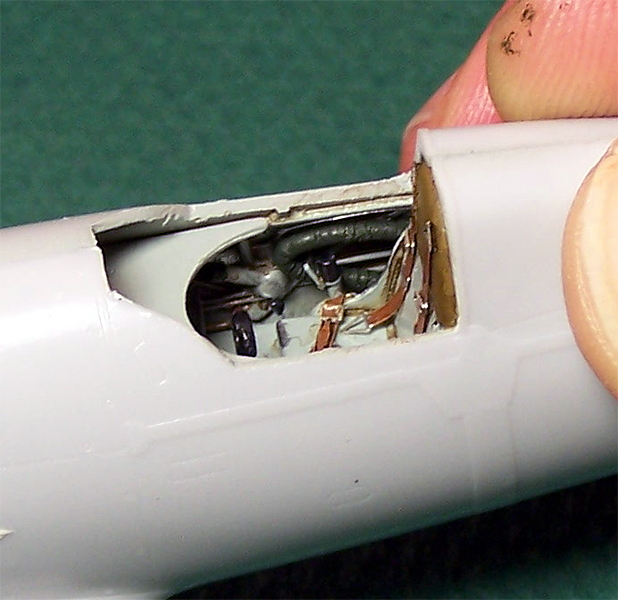
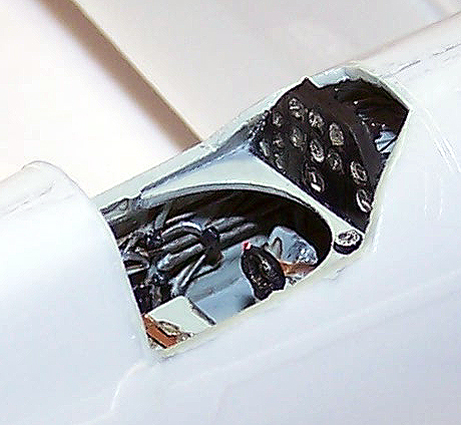
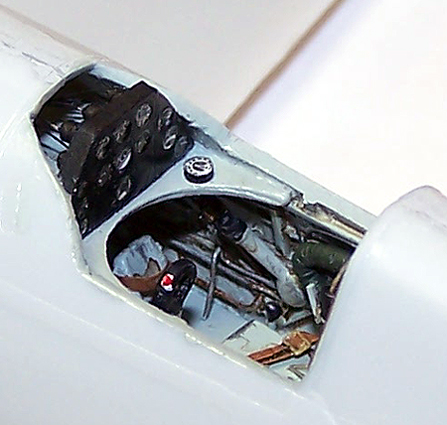
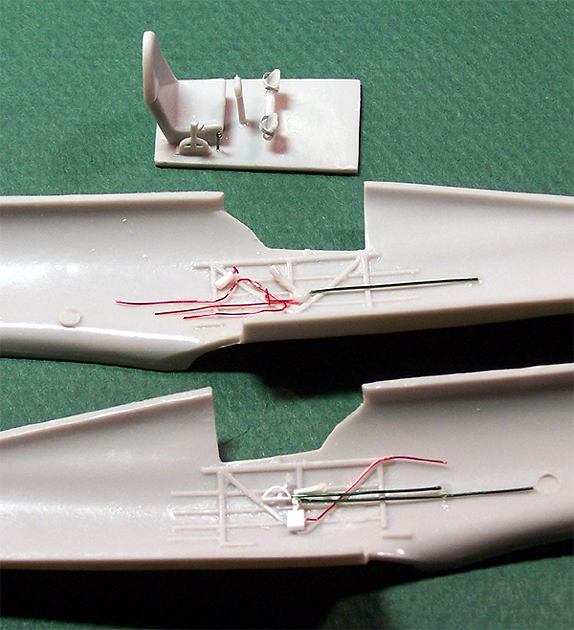
Please accept my apologies but I am limited to English. This site has contributed a lot of good information being used towards my second build of the IAR-80C and I wanted to share this project with you. This is the LTD 1/48 IAR-80 kit made by Squadron Models.
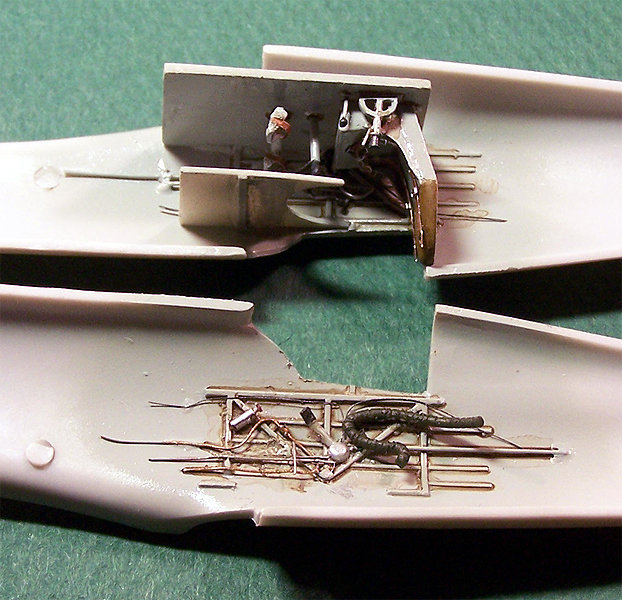
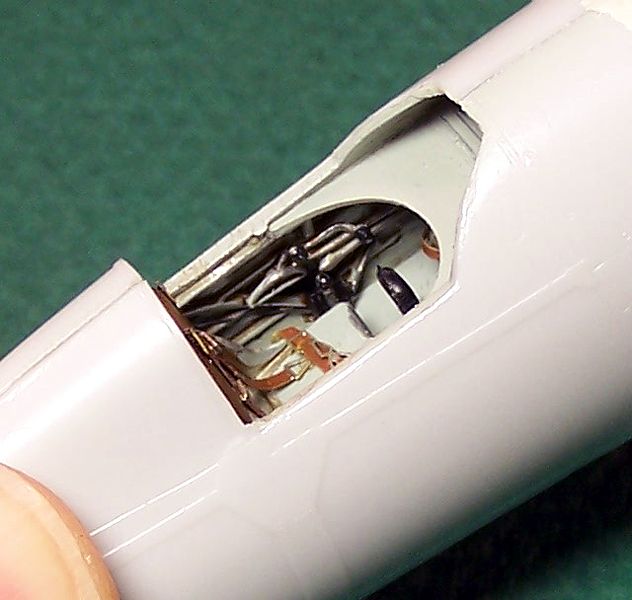
After the base colors are painted I will add PE seatbelts and additional wiring. Some detail is hard to see right now but each lever has a knob made from superglue and boot straps have been added to the rudder pedals made from aluminum foil. Soon I will be posting a construction feature to my website at http://www.SwannysModels.com If anyone can translate this post for the general readers here I would be thankful.
#2
Postat 26 May 2005 - 09:25 AM
Citeaza
If anyone can translate this post for the general readers here I would be thankful.
Hi Swanny,
Wellcome to our modelling site.
We are glad that you choose a famous romanian plane for modelling.
I will translate your post in romanian.
Keep going with your nice project.
Best wishes,
Dan.
Traducere mesaj Swanny in Lb. romana.
Quote Swanny , Posted on May 26 2005, 01:43 AM :
" Va rog sa ma scuzati ca va scriu in lb. engleza. Acest site a contribuit cu multa informatie de calitate pentru a construi cel de-al doilea IAR80C al meu si vreau sa va impartasesc si voua etapele de lucru al acestui kit LTD 1/48.
Pentru inceput am lucrat in cabina : am atasat curele din folie de aluminiu la pedalele de palonier iar capetele de la manete le-am realizat cu picaturi de super glue. Dupa vopsirea cu culoarea de baza in interiorul cabinei o sa continui cu alte detalii cum ar fi centurile de scaun si fire ( cu material folosit sarme sau lite).
In curand voi posta mai multe detalii pe pagina mea de web."
http://www.SwannysModels.com
#3
Postat 26 May 2005 - 09:43 AM
O frumosa realizare a lui Swanny Heinkel 112 romanesc la 1/48. kit Classic Airframes. Mai jos este link-ul.
http://www.swannysmo...einkel112B.html
#4
Postat 26 May 2005 - 05:20 PM
Thank you for the translation Dan. For many modelers here in the USA the Me-109 is the prefered aircraft to model but for me the IAR-80 has always captured my attention. This is the second one for me and there are two more in the stash waiting. If you want to see more Romanian subjects that I have done look here ...
http://www.swannysmodels.com/Do17.html
And here ...
http://www.swannysmo.../PZL37LosB.html
I love this web site and the models I have seen here are all very inspiring. I can see that I will be building many more Romanian subjects in the future.
http://www.swannysmodels.com/Do17.html
And here ...
http://www.swannysmo.../PZL37LosB.html
I love this web site and the models I have seen here are all very inspiring. I can see that I will be building many more Romanian subjects in the future.
#6
Postat 27 May 2005 - 12:05 AM
Blue-Max, la May 26 2005, 04:54 PM, a spus:
Nice kits Swanny but the Do-17 has a totally wrong camo !!
A 70/71 and 65 RLM version would have been closer to reality.
I will check my archives and try to tell you more one of these days.
A 70/71 and 65 RLM version would have been closer to reality.
I will check my archives and try to tell you more one of these days.
Yes, I know. When I did this one it was more of a fantasy build than anyting else. It was built to demostrate panel line washing more than anything else. Thanks for the comments though and I am always interested in seeing accurate schemes for future projects.
#7
Postat 27 May 2005 - 02:23 PM
Still a few minor details to add but the basics are complete. I added material to the side of the seat to make it closer to the actual shape. Seatbelts are from Lion Roar. Fuselage is only held with tape right now. Instrument panel is not placed yet because the kit instructions have it placed too far forward, I'll secure the base panel then detail the intrument panel (front and back) and install it in the correct position. If this is not done correctly the antenna mast has nowhere to mount inside.
#8
Postat 28 May 2005 - 06:38 PM
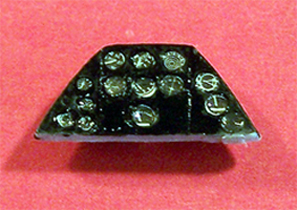
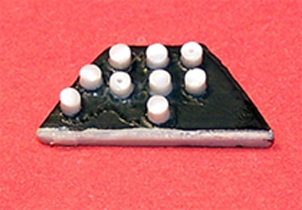
The dash starts out pretty plain with no instrument detail on the face and a flat backside. I used Reheat instrument decals for the face and added cut pieces of plastic rod the the back.
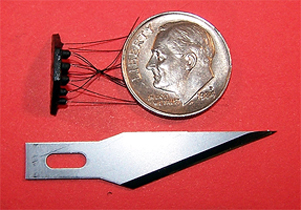
Once the glue had set up the back side was painted black then invisible thread was superglued to each instrument back. The thread was painted black and touched with silver in a few spots. Some of the thread was grouped seperately to give some variety to the flow of the wiring. The instrument faces each recieved a drop of Testors Clear parts cement.
Next the dash is placed into the cockpit and the compass is added tot he horizontal surface. The compass was made from thin sheet styrene punched with a Walron punch then a Reheat decal was placed onto it.
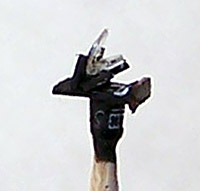
Next I will be constructing a reflector gun sight.
#10
Postat 29 May 2005 - 04:00 PM
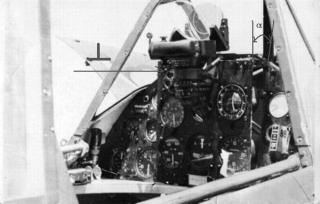
Yes, you are correct and I had looked at that before begining but some sacrifices are made to prevent total insanity. I decided to use the kit dash and get a better appearance from it rather than just build everything from scratch. While still not totally accurate I think it looks much better than the basic kit offering. Your English is much better than my Romanian and I have saved your picture for use on the next one of these I build.
#13
Postat 27 June 2005 - 03:46 AM
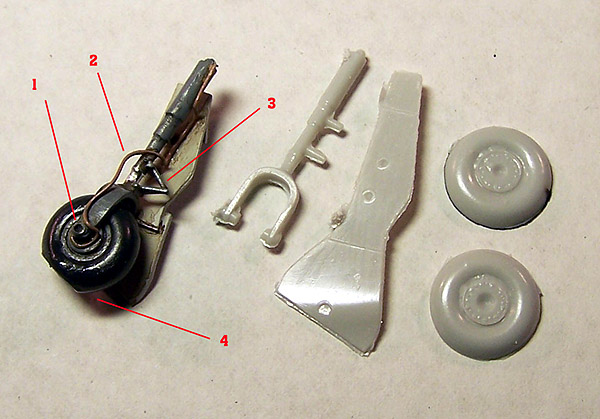
Spent several hours today working on the landing gear. One strut is complete now and the second is underway. Here is a look at what I started with and what I ended with.
1. Axel is drilled out.
2. Brake line is fashioned from magnet wire and closely approximates postion of actual brake line.
3. Oleo arm is salvaged from spares box - the kit does not include this piece.
4. Kit wheels are replaced with True Details resin wheels.
When the gear are installed I'll fashion a retraction arm and lay some hydraulic plumbing into the gear bay.
#14
Postat 01 August 2005 - 05:18 AM
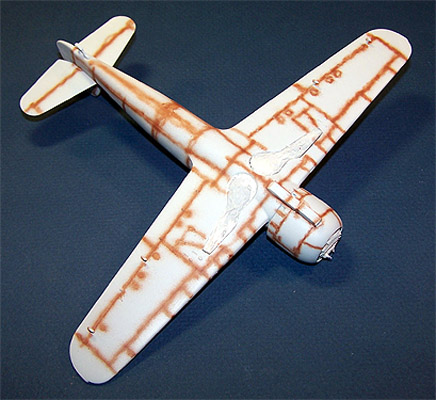
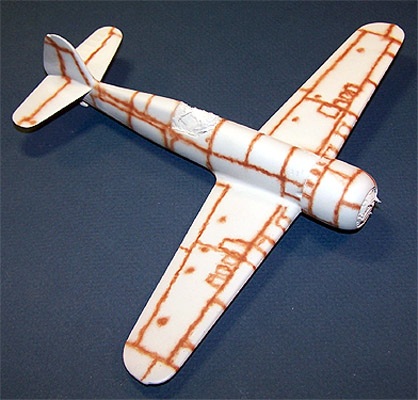
Have been busy working over the IAR-80. Both landing gear are done, the engine is in place and the cowling has been glued in place. The model has been primed with Mr. Surfacer 1200, little problems have been fixed and she has been primed again. Today I started preshading the aircraft and tomorrow some color should be going on.